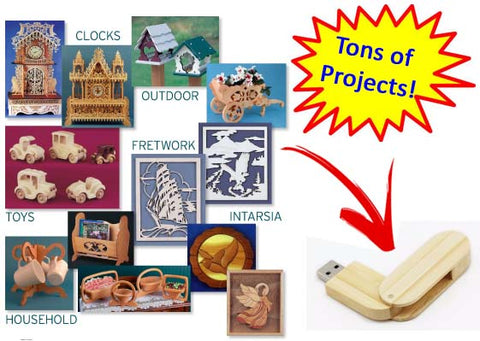
Scroll Saw Patterns by Download (PDF) -or- Paper by Mail. Scrollsaw.com was THE FIRST website (1996) to offer scrollers and woodworkers patterns and project plans. We have served tens of thousands of our fellow sawyers by providing full size, traceable patterns along with a materials lists and the necessary information to be successful at cutting and assembling projects. Enjoy looking through our selection of time-tested scroll saw patterns and woodworking plans -- and remember, shipping is always FREE on patterns.
Shop For

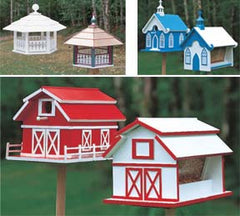
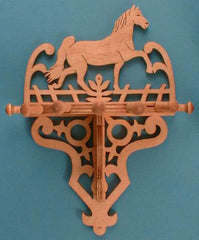
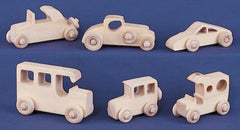
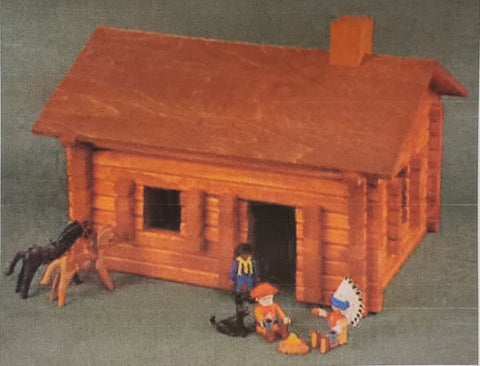
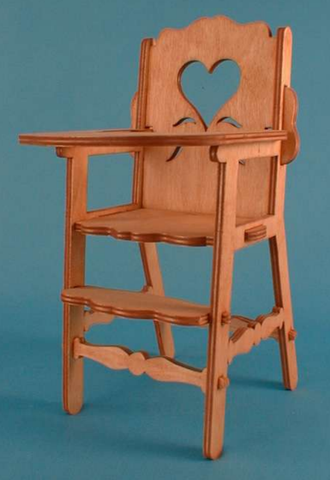
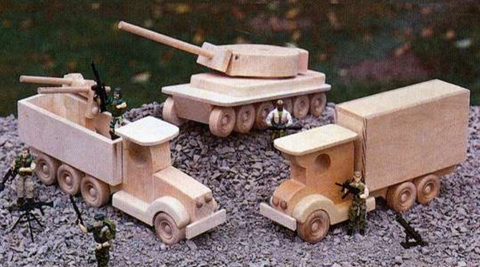
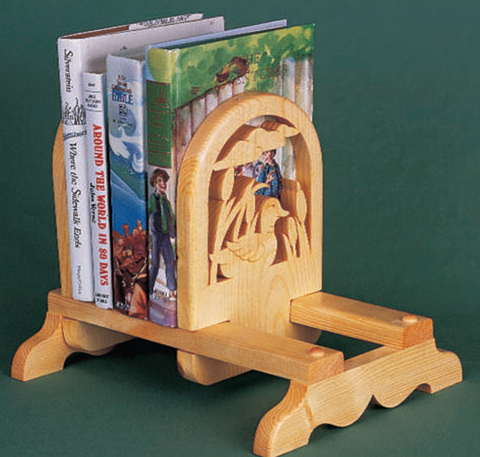
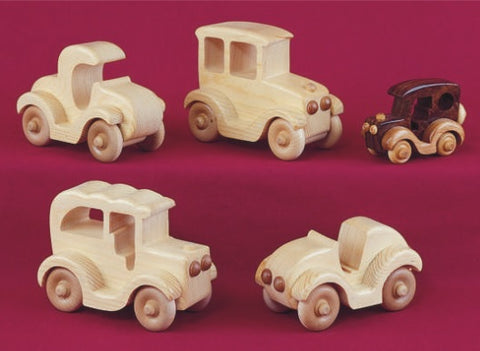
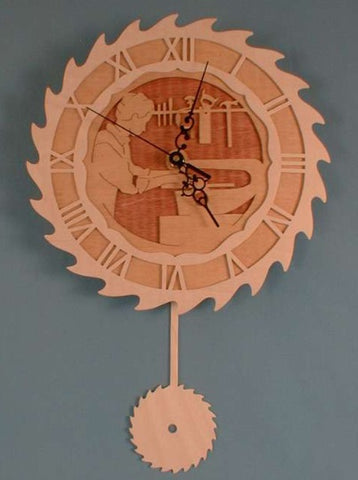
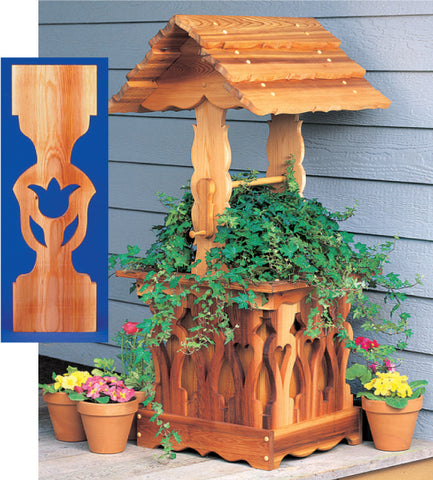
Popular & Classic Scroll Saw Project Patterns


Scroll Saw Swag Just for Fun